
Crop Images To Show The Best Thumbnail
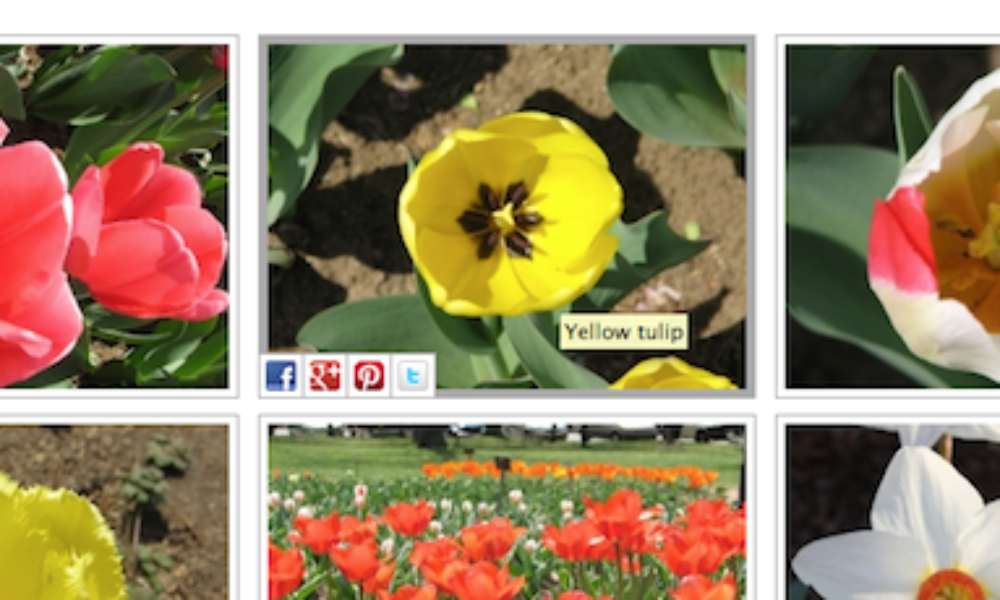
If you are using the standard square thumbnails for your gallery, the thumbnail is created by cropping a square section from the center of each large image. Often this means that heads are cut off and it is not clear from the thumbnail what the image actually is.
Step #1 - Set your thumbnail size
This is done under Gallery/Options, then select the Thumbnails tab.

- If most of the images you are going to load to your galleries are a certain dimension ie. landscape, portrait or something unusual, set your thumbnail size to a percentage of this rather than the standard square size.
- If you change the thumbnail size when you have existing images in your galleries, you will need to recreate the thumbnails for these images to match the new size and make them look sharp.
Step #2 - Recreate Any Existing Thumbnails
- Go to Manage Gallery, click on name of Gallery
- Tick the box top left of images to select them all
- Select 'Recreate Thumbnails' in the bulk edit drop down box.
- Click Apply button next to the dropdown, okay changes
- Save Your Changes

Step #3 - Customize Your Thumbnails
NextGen lets you edit each thumbnail after loading to crop the exact part of the large image which you want to show in small version. See screenshots below...


- Click edit thumb beside an image in your gallery
- Drag your mouse over the image to select the area (dimensions conform automatically to your default thumbnail size)
- You need to do this for each image and click update each time
- Once you are happy with all the photos in your gallery, click the Save Changes button at the top or bottom of the page
NOTE: The first time you view existing galleries on a page or post on your live website, you may have to refresh your browser to see the changed thumbnails
-
This article was written by Jo Couchman, a WordPress designer at Creative Web Ideas.
Jennifer
3 Sep 2016Unofrtunately, this isn’t working for me. I have followed all the steps, but the thumbnail image on my web page always stays in landscape format, although I specified a larger height than width, and I cropped the image to the desired size.
What am I doing wrong?
Scott Wyden Kivowitz
6 Sep 2016Please contact our support team if you need assistance.
Ann
4 Oct 2017This doesn’t work for me, either. It’s a great tool, but resizing just doesn’t seem to work.
Scott Wyden Kivowitz
4 Oct 2017It’s working for over a million others, so I suggest contacting support for assistance troubleshooting 🙂
Dobrin
15 Oct 2017Most likely reason for image resize failure is missing ImageMagick on your server.
Doc
4 Feb 2018Just want any selected sized thumbnail to contain the whole image (each one scaled not cropped). In all gallery plugins, this seems to be a big problem.
Scott Wyden Kivowitz
5 Feb 2018You can have uncropped thumbnails using either our Masonry or Mosaic galleries.
Bob Gobeille
7 Feb 2018There doesn’t seem to be a way to have uncropped thumbnails in the proofing confirmation page. The confirmation page is generated automatically with the code [ngg_pro_proofing]. So if you have mixed portrait and landscape images the portraits get cropped.
Scott Wyden Kivowitz
8 Feb 2018They’re actually uncropped on the proofing page. But they are small thumbnails. The crop on the proofing page shouldn’t matter as much as in a gallery, though, as the point of proofing is to grab the images from your catalog for editing purposes or delivery. If you disagree then feel free to get in touch with support to discuss a feature request.